Wednesday, August 2, 2023

Hammering Reserved

The Rejects reassembled online with Jonathan of Palouse Wargaming Journal to take a second go at fighting Hood's assault of Little Round Top.  The first encounter ended in a well deserved confederate victory.  Those reports can be found here and here.

Problems and Possible Solutions

My conclusions from the first game were:

1. The Confederates controlled the battle and fought it entirely on their terms.  Something was needed for the Union to grab the initiative and make the rebels not just have their own way.

2. The Confederates were immediately pushing at Houck's Ridge and Little Round Top and something was needed to limit their opportunities.

3. The Union forces had no space to trade for time or exploit. 

4. The Union could not afford to leave dense targets at which the Confederates had the flexibility to either charge or shoot.

5. Stony Hill is of minimal consequence and resources should be happily redeployed towards defending Houck's Ridge.

The solution that Ray and I devised was quite carefully crafted, but essentially it was to start the battle with every possible unit on reserve orders.  This meant that we could interrupt the Confederate moves, charges and firing as necessary to address the issues mentioned above.  

If we are honest, we still expected to lose and we knew that after turn two the Union forces would need the reinforcements to arrive quickly. So, for us victory was measured in how much we could frustrate and wrestle the initiative from the Confederates.

Can the Union forces (me and Ray) do better second time round?  We shall see!

The Battle

Starting positions.  Almost all of the Union troops are on reserve orders.

The rebels, holding the initiative, made a charge for Devil's Den and across the Saddle towards Little Round Top.  With the 124NY coming off reserve, they supported the sharpshooters in Devil's Den but after a bloody combat the 124th were scattered and the sharpshooters withdrawn onto Houck's Ridge.

On the Saddle, use of reserves again bolstered the defence and threw the attack back.  Likewise, the sharpshooters were tenacious in defence near Big Round Top and repulsed the confederates.  These sharpshooters were to prove to be very resilient and a thorn in the Confederate side.


As the Confederates moved Benning, more Union reserves were sent to block their path and win valuable forward space west of Devil's Den.


Realising that this was now a different contest, the rebels started enacting their own plan.  This was to concentrate their attack between Stony Hill on the left and Houck's Ridge with a view to move over the ridge.  Last time the concentration was up Plum Run.

Confederate forces are poised along Rose Run.


Despite Confederate efforts to assault the southern end of Houck's Ridge and across the Saddle all are repulsed.  However, they are beginning to make progress in Rose Wood.  Nonetheless, the close combats are hard fought and bloody.  The Confederates may be pushing the feds back, but it is costing them.


With little success on the Round Tops, the rebels shift their troops west but make some progress up Plum Run, albeit slow.

However, they slowly but surely push onto the wheat field and gain a foothold on Stony hill.  Union reserves continue to bolster the front where possible, but apart from Little Round Top the federal troops are increasingly engaged.  Plus, the reinforcements are delayed!


The rebels keep the pressure up on the western flank, and gain a foothold on the southern tip of Houck's Ridge.

At last! Union reinforcements appear.

The Confederates keep up the pressure in the west.  However, their exertions are starting to tell with brigades becoming broken.  Each charge they win whittles away at their staying power.


The Confederates break Tropbriand's and Ward's brigades, gaining control of most of Houck's Ridge.  However, the Round Tops are cleared of rebels, and Benning's and Robertson's brigades are broken.

With Weed's brigade in the north and the unshackled and virtually undamaged Vincent's brigade in the east, the Confederates will have a mighty struggle to capture Little Round Top.


After four hours of intense gaming, it was for Jonathan to call the result.  With two unbroken Confederate brigades, they could have pressed the attack.  However, with Law's brigade now close to breaking whilst the Union had two undamaged brigades, the rebels conceded that the task was now beyond them.  With a great deal of generosity, Surjit and Lee conceded defeat and praised the defence.

Conclusion
A Union victory.  This was a very different game from the first.  A much closer fought game where the Confederates were rewarded for their aggression and the Union for their use of reserves.  It was a contest of two competing tactics.

Using the reserve orders worked well: it won the Union space that it could trade for time; it disrupted the Confederate advance just enough to slow it down; it presented opportunities to inflict casualties without crippling the Union defence.

The dice rolls on both sides were good (though mine was no better than average).  Ray's rolls were exceptional and delivered at critical moments.

Knowing that Stony Hill was not important to hold enabled the means for a better Union defence of Houck's Ridge.

The Confederates were aggressive again.  However, quite a number of the melees were bloody and close fought with a number of them going to continuing rounds of combat.  So even when the rebels eventually won, their losses mounted as their attacking capacity diminished.

The Confederates played an excellent game with a change of tactics that was close to succeeding but just ran out of steam.

A splendid game where all involved played well and rose to the tactical challenges posed throughout.

Lastly, Jonathan deserves high praise for a challenging and entertaining scenario that was superbly umpired.

For a much better report go to Jonathan's blog when he publishes it.


Tuesday, July 25, 2023

Sickles Hammered!

Last night Jonathan hosted a remote game for the Rejects.  It was Hoods assault, to which I will refer you to his excellent report at Palouse Wargaming Journal.

My screen shots are few in number and I won't even try to record the details in what, from the Federal (me and Ray) point of view was calamitous. 

As the opponents faced each other it was clear that engagement was going to be immediate.

Positions at the start of the game.

The Confederates swept away our sharpshooters and quickly bounded forward.

Realising that the rebels were going to move fast and wherever possible double up their charging units, the Federal command made a possibly ill-conceived decision to thicken the defence.  However, this then did three things:
1. Made them a dense target for small arms and artillery.
2. Gave the confederates the initiative to either fire, charge or both.
3. Whenever the boys in blue charged to repel the rebels they were left exposed to points 1 and 2 above.

Positions at the start of turn two

The rebels were able to push onto Houck's Ridge and repulse any counterattack.  They also maintained pressure on Little Round Top. De Trobriand's brigade on Stony Hill engaged in a fairly active, but largely peripheral, defence.

Positions at the start of turn three

The last turn saw the rebels pushed off Houck's Ridge, only to swiftly climb back up.  Little Round Top was taken before Vincent could really reorganise to muster a defence.  When Weed's newly arrived brigade attacked it was thrown back; as were other Federal counter-attacks.  Rebel casualties were being inflicted but the effort drained the defenders' resources.  The Federal troops had no choice but to withdraw.

The Confederate commanders, Lee and Surjit need to congratulated on playing everything right.

Excellent game which I enjoyed regardless of the result.  The after game group analysis providing almost as much entertainment.  

Next time I would try out a more agile defence with two lines.  The second on reserve to hopefully stiffen the front when attacked.  I also believe the maintenance of Stony Hill is less necessary and kept valuable resources away from reinforcing Houck's Ridge and Little Round Top.  Hopefully, these thoughts can be put to the test.


Thursday, July 13, 2023

Battle of Quoideneuf, French Revolutionary War AAR

Last weekend a diminished complement of Rejects assembled for a fictional French Revolutionary Wars scenario.  We used Volley and Bayonet rules and deployed Commission Figurines 6mm MDF miniatures.

This was the first time we had played these rules face to face, and on a large table. Up to now on a 6x4 table, but on this occasion on a 8x6 battlefield.  So, we were all looking forward to seeing how things played out on this larger arena.  Plus, Surjit and Steve were keen to understand the rules better in anticipation of campaign battles.  More on this in a future post.

The Context
Put simply, it was a encounter between two roughly equal sides. 

Victory would come from taking and holding the opponent's line of communication or having less divisions exhausted.

The Sides
Apologies for the poor quality reproductions of the orders of battle.

The Austrians - Stuart and Surjit.


The French - Steve.


The Battle
With the French on the right, they advanced all along the line.  With all their cavalry placed on their right flank, Massena and Bonaparte push across the stream.  The Austrians (on the left), having divided their cavalry on both flanks decided that they needed to react to this and rapidly sought to redeploy their horse to cover the far flank.

Stuart and Surjit react to Steve's advance.

The Austrians manage to race their dragoons to the far flank just before the French cavalry emerged from the orchards.  Along the rest of their line imperial forces adopted a defensive posture in the hope that the French would break against them.

The Austrians use the large, dense woods to anchor their centre, and trust to their cavalry to protect the more open far flank.


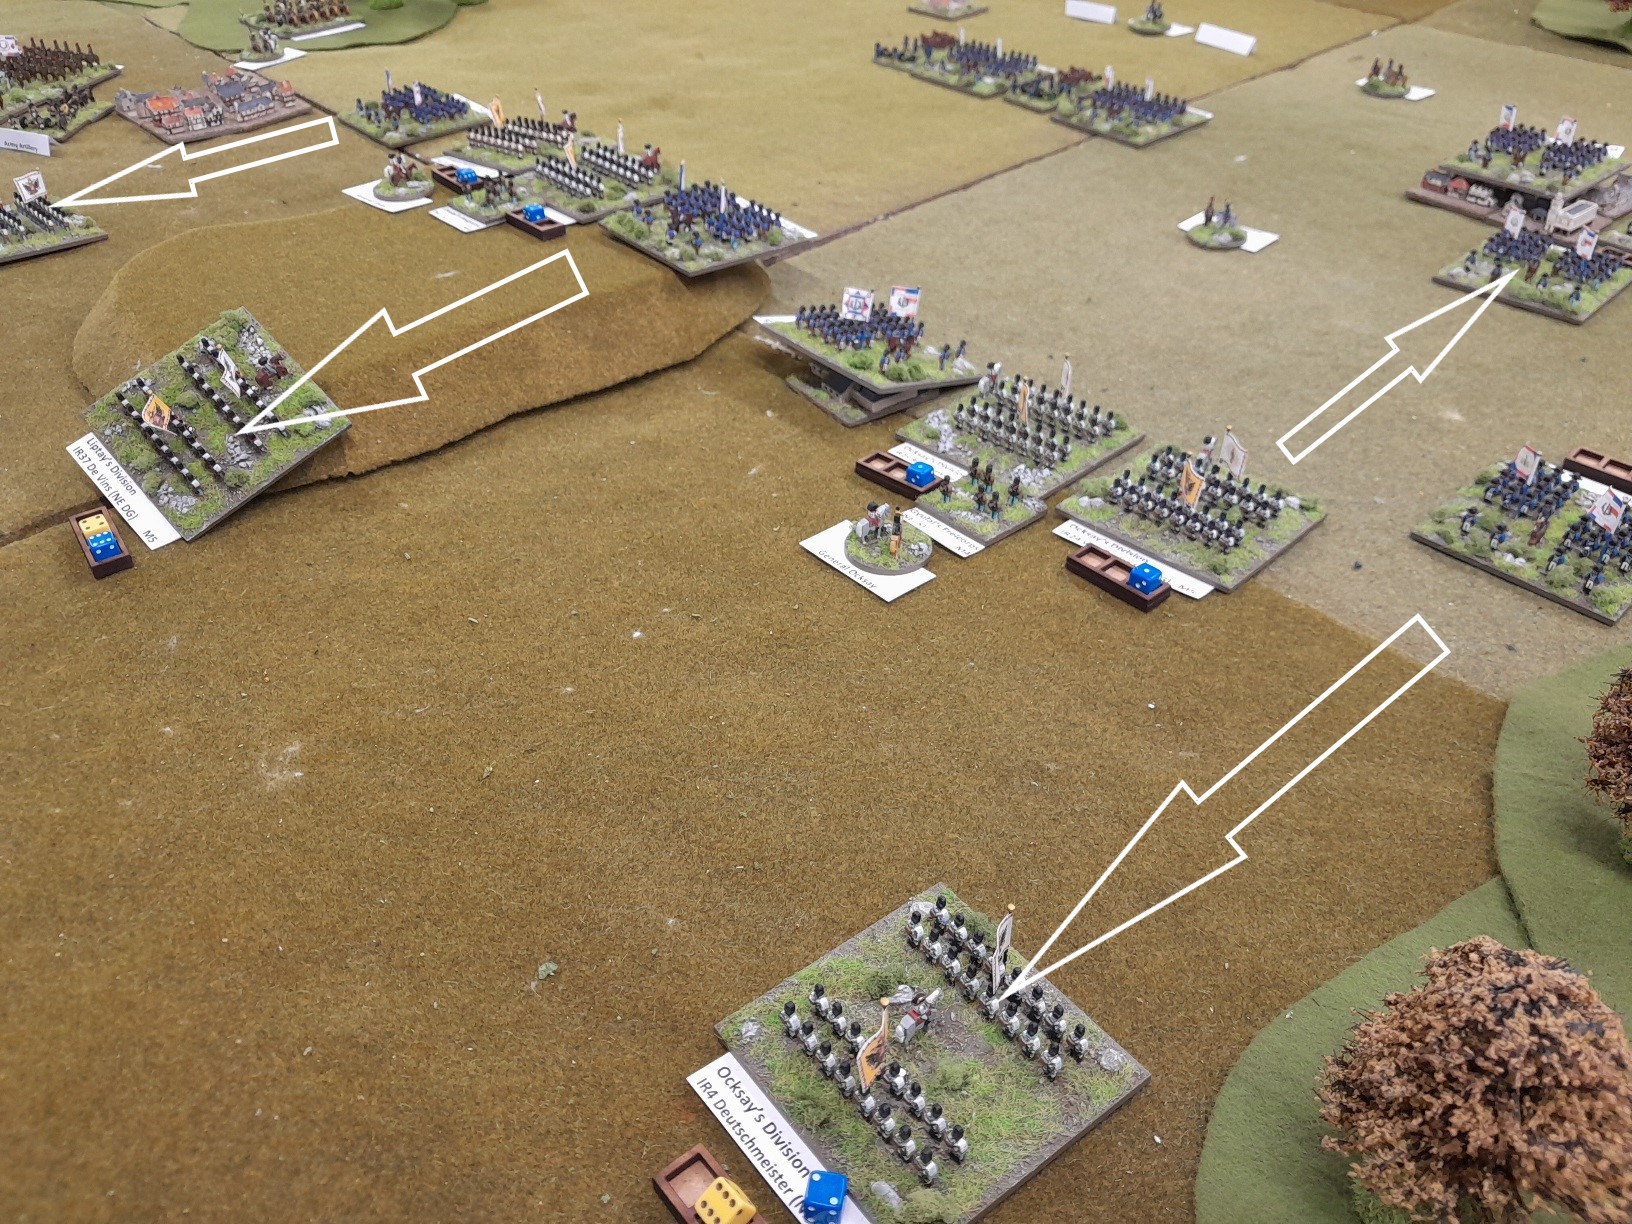
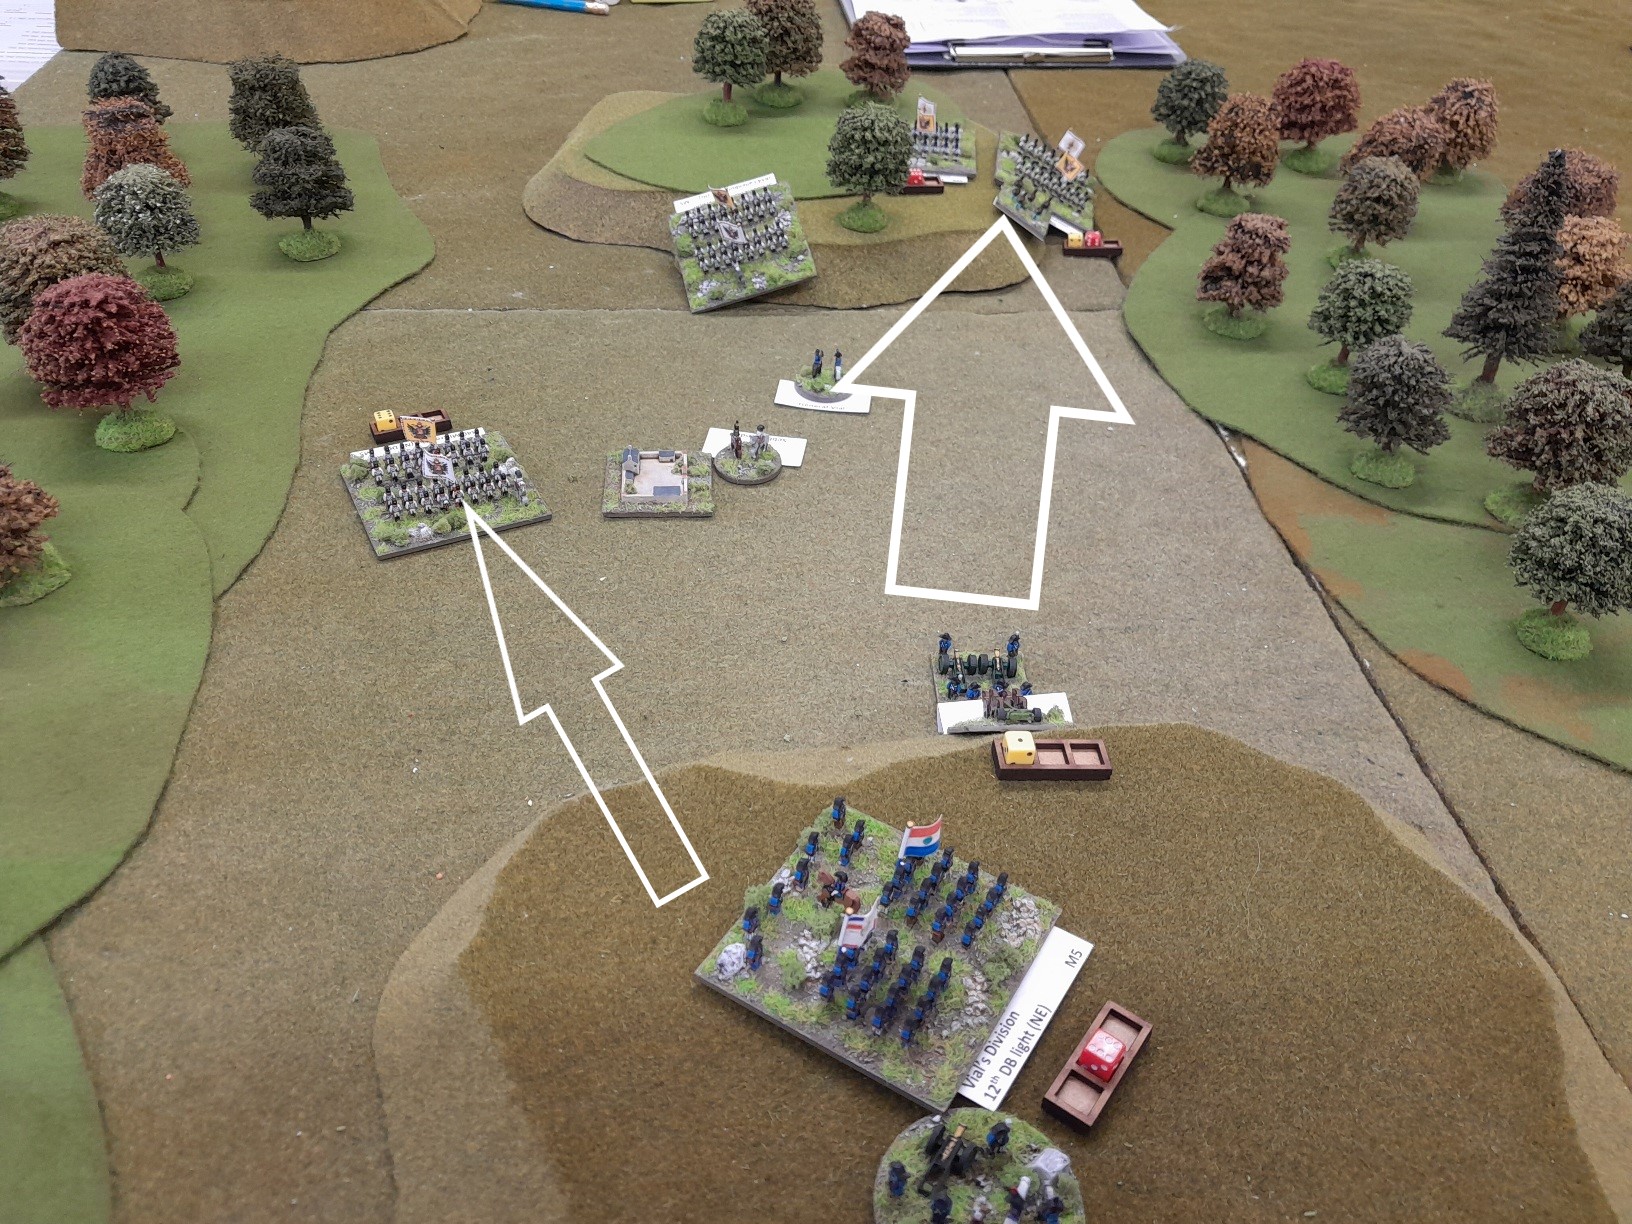
Hoping to smash the near flank, the French commander threw Vial's division at the Austrians on the hill.  Whilst maximising their position and stationary posture, Sebottendorf's division repulsed the assault.


And attempted to seize the opportunity to open up the French flank.  At this point the French commander was showing signs of a collapse of morale, and as he munched on his lunch he predicted that not half an hour would pass before the battle was concluded.


However, fortune is not a faithful mistress and quickly turned away from the Austrians as French columns assaulted the centre, driving back or routing four imperial regiments.


Even the far flank was looking brittle.


From near morale collapse to feelings of invincibility, the French commander was now taking the fight to the slightly stunned Austrians.

Steve and his renewed luck... he needed sixes!

On the far flank, all the cavalry engaged with the French maximising their horse artillery advantage.


With honours edging towards the French, it nonetheless looked likely that all mounted divisions would exhaust themselves.


The Austrian position all along the line was being tested by the newly invigorated and confident French.


However, the Austrians were inducing some nervous tension on the French right (near) flank.  With Sebottendorf's division throwing themselves at the well placed guns and a recovering demi-brigade, Austrian expectations hoped for a breakthrough.


Alas, sterling gallic defence and a reasonable amount of good fortune repelled the attack.  However, both divisions had exhausted themselves in their mutual efforts.  The brave men of Vial's division nonetheless held their morale, whilst Sebottendorf's collapsed.  Two regiments scattered and a third would rout.  The battle for this flank was over.


Meanwhile, the Austrian command was working hard to recover the centre.  Especially now that the hill seemed about to be flanked.

The French, though bloodied, could scent victory and with undamaged reserves ready to throw forward with artillery support the battle seemed now to have swung in their favour.


With a central division approaching exhaustion, the Austrians made the decision that this would be an opportune moment to retire in good order.  Well timed as the God of War (me) was about to call the battle to a conclusion.

The rather more confused situation at the end of the game.  Both flanks were exhausted and the Austrian centre was giving ground.

Conclusion
A French victory in what was a close match.

The players enjoyed the battle more from the point of view of learning more about the nuances of the rules and how to handle the units than from any desire to desperately win.  Their stream of questions was constant.  They seemed to gain a greater understanding of the advantages and disadvantages of batteries versus detached guns.

From my perspective it was really interesting to see how the players made use of the bigger table.  I'm not sure it actually made a lot of difference in this game.  Primarily because the two armies were too evenly balanced, which made for bold advances followed by calculated caution in the knowledge that the balance might be broken against them.  Plus, it made us all think about the wisdom of only seeking battle with distinct numeric or qualitative advantages.  This game was too balanced, and so could easily swing on small events or lucky dice rolls.

Nonetheless, a excellent and enjoyable day full of banter, laughter and great conversation.


Most Popular Posts