Sunday, June 9, 2024

Enjoying the Day at Broadside, 2024

The Rejects gathered en masse in Gillingham to attend the Broadside wargames show hosted superbly by the Milton Hundred Wargames Club, and to support and assist Ray's demonstration game of the Battle of Croix de Bouquet.  An engagement from the Haitian Revolution, 1792.

An unusually large contingent of red shorted Rejects on parade prior to the doors opening to the public.  I was obviously behind the camera.

This is not an in-depth account of the battle or the show.  Just a few thoughts at the most.  Others can and will do a better survey of the event than I ever could.

The next few photos show the game.

Ray's excellent town.

The rebels coming out to confront the French troops.

Lovely painted figures by Ray.  They certainly look very motivated.

The French line await the onslaught with a great deal of discipline.

Whilst Ray assembled the information, Reject Lee did a great job in presenting the material for display.  Lee was also did sterling work chatting to the public and presenting the game.


We all had opportunities to wander around the other games and trade stands.  I'll just post a couple of things that caught my eye.

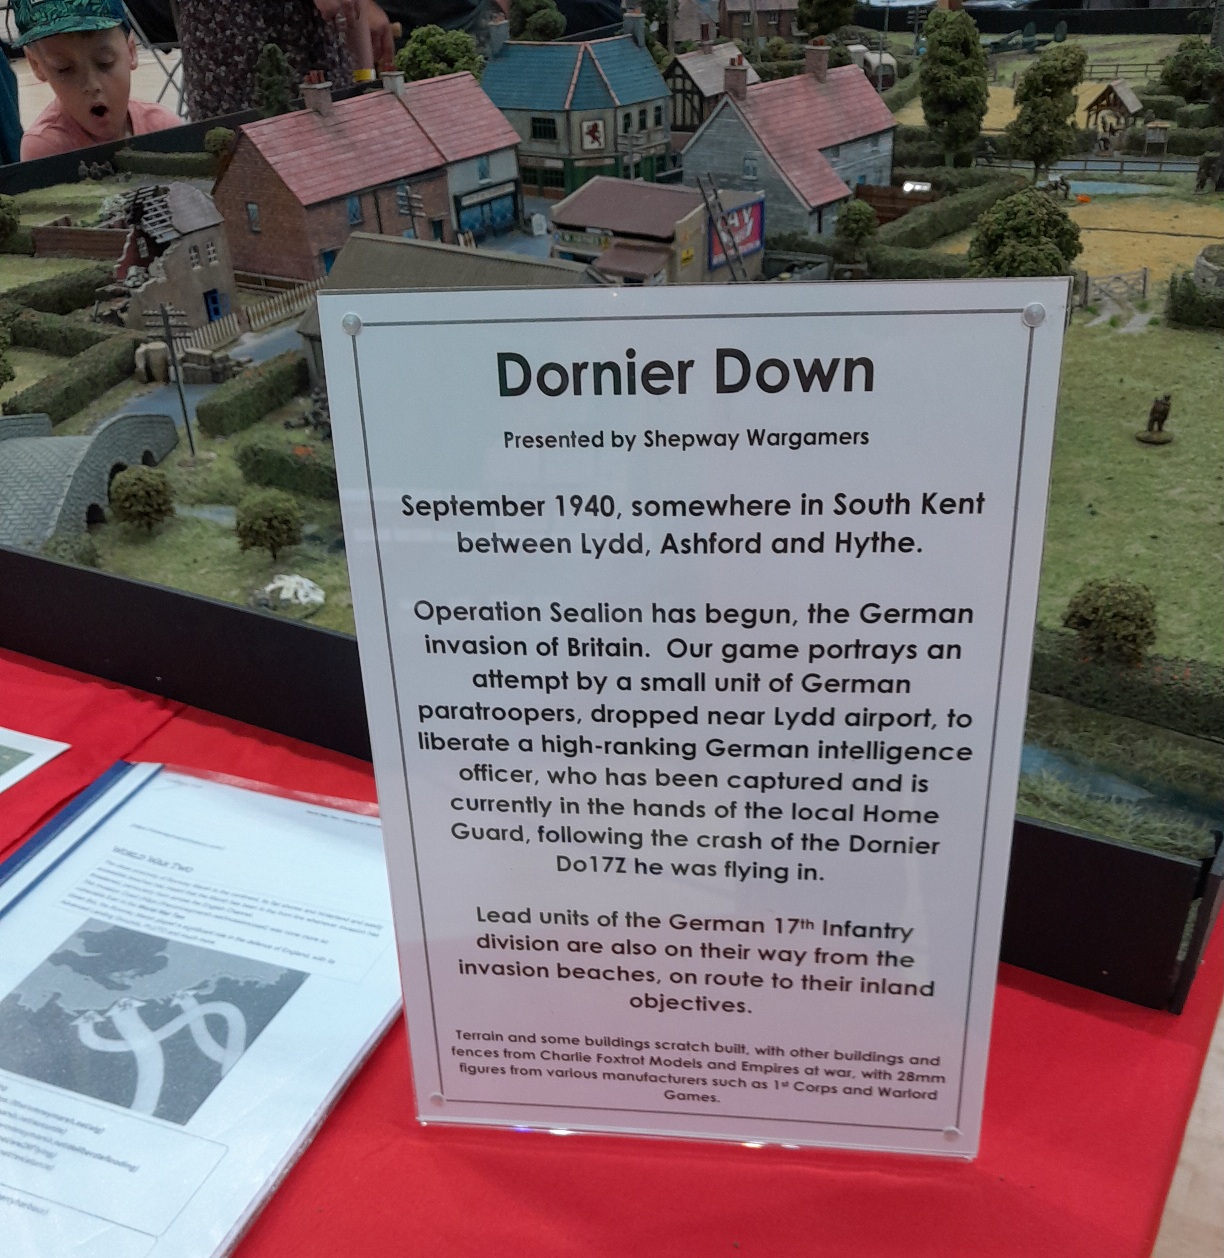
First up was a game from Shepway Wargamers, Dornier Down.


I liked this.  The modelling was really good and was worthy of many return visits.  What I didn't capture was the large scale Hurricane flying above the table.

The next jaw dropping game was from Retired Wargamers Reloaded, featuring the struggle to keep control of the crossings of the Orne at Pegasus Bridge.


The last one that I will mention is a participation game from Maidstone Wargames Club.


Based on rules from a war comic published in 1977, this was a novel way of replicating aerial conflict.  I saw this game earlier in the year at Cavalier at Tonbridge.  I played it and loved it.  I think that the groups recreation of the scenery is absolutely top draw, and the way they have integrated the holding of the planes with the holes in each grid square was simple but clever.


Broadside may not be the biggest show, but it is friendly and family oriented.  I don't believe I have seen so many young families at a wargaming event.  It was heartening to see and, I think, gave the show an energy and vibe that makes it a little special.

Amongst those who seemed to attract great interest from families and especially the young children were these gentlemen of the 79th Cameron Highlanders.  They did a great job sharing their knowledge of weapons and the tools of 19th century military surgery to young and old.

The 79th Cameron Highlanders

In truth, there were lots of wonderfully produced games and interest to be seen.  Well done to Milton Hundred Club.  

I can't wait for next year.

Tuesday, May 28, 2024

Battle of Bassignana 1745 AAR - Face to Face with Better Generals

With Jonathan at Palouse Wargaming Journal hosting another of his wonderfully conceived remote games, I happily took on the role of the defending Piedmontese in this battle.

Rejects Lee and Steve commanded the attacking Gallispan army.

For a full background to this game I will refer you to Jonathan's post Bassignana-1745.

All the screen shots are taken from my side of the table and the account from my view.  I would suggest a visit to Jonathan's blog for a better and fuller account.

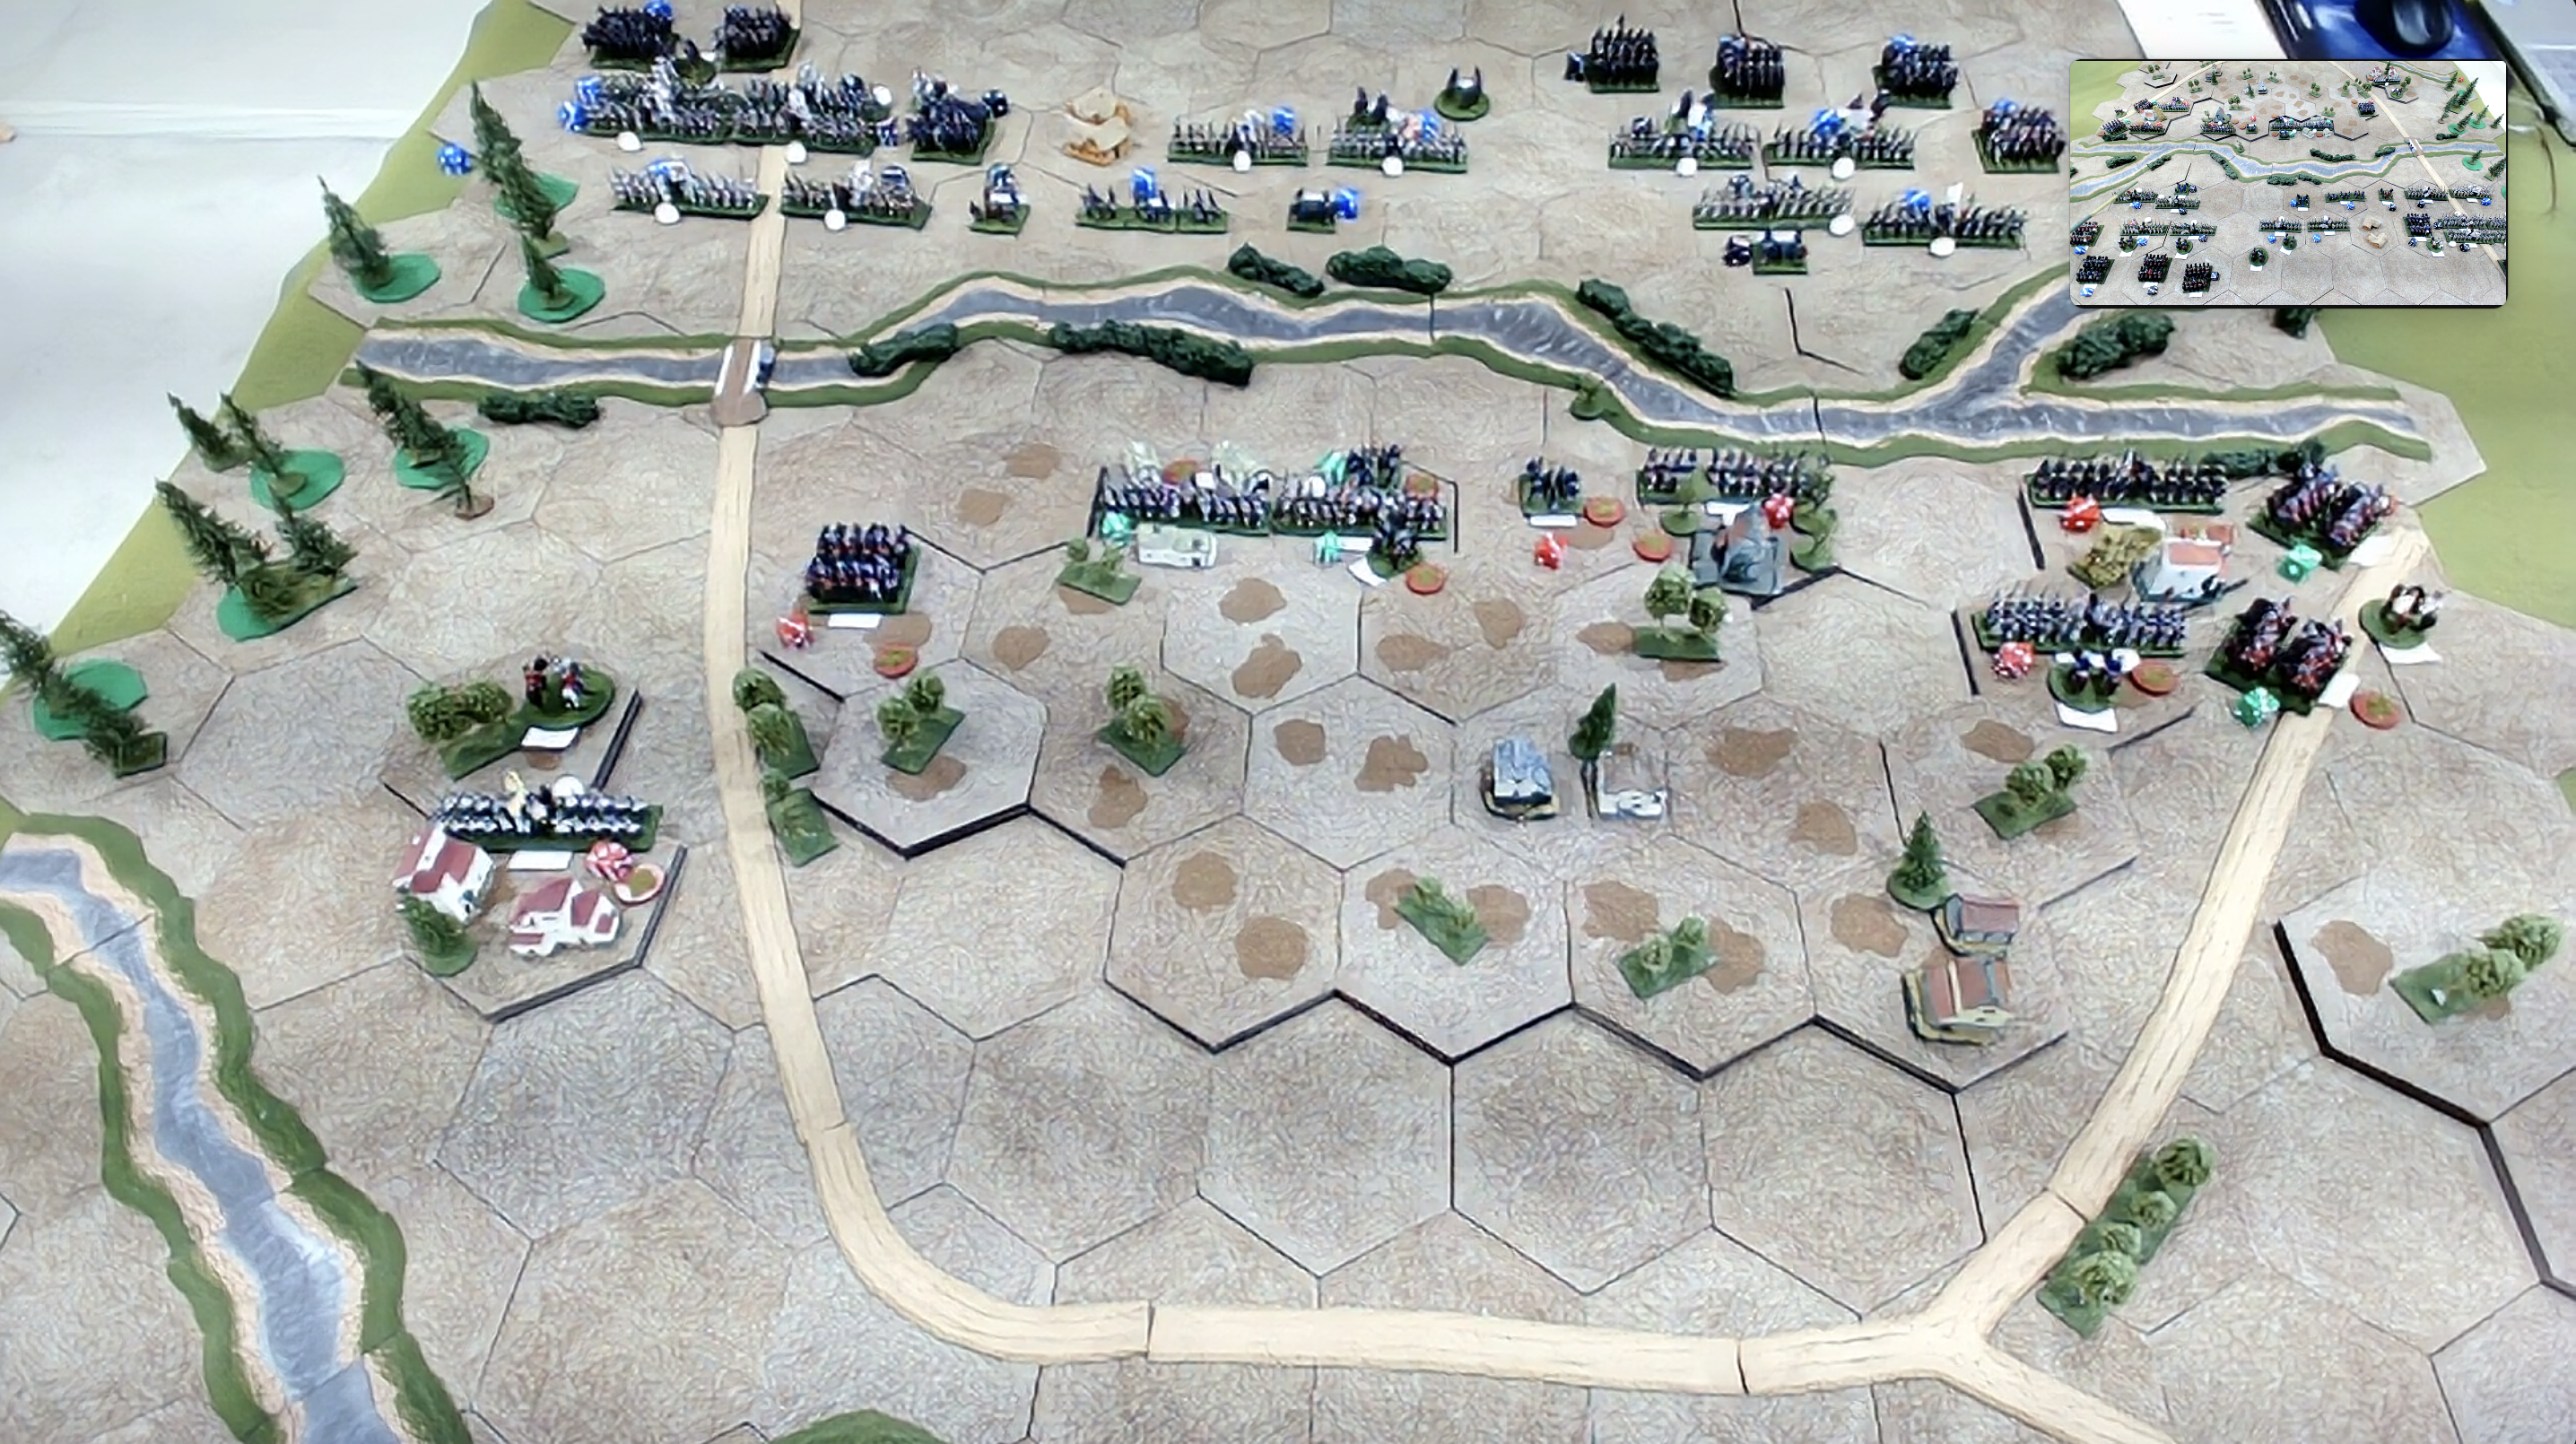
The starting depositions.  All units are on reserve orders ready to spring to life at advantageous moments!  My light infantry unit are currently hidden from view in the woods by the river on the left.

The Gallispans have advanced.  Meanwhile I have started to redeploy my dragoons from right to left.  Alas, due to a failure to get one out of reserve they have not moved as far as I had hoped.

The Franco-Spanish begin crossing the River Tanaro.  At this point I spring my ambush with the light infantry; firing into the two columns on my far left.  At the same time, the Piedmontese cavalry bound forward to dispatch another infantry in column.  This probably represents the high point of my game.

The light infantry's musketry disperses one enemy unit.  However, weight of numbers overwhelms their position in the woods.  Alas, the cavalry are also destroyed by artillery fire.  The Gallispans have now established a nice infantry line on my left.

With the Gallispan commanders moving their units carefully, they are able to nullify any advantages from my holding units in reserve.  They quickly take Rivarone from the guarding militia unit.

A mistake, amongst a number of them.  I have split the dragoons trying to leave one in reserve to aid the defence of Bassignana whilst the other supports the units on the hill.

With much better tactical awareness, the Franco-Spanish commanders isolate Bassignana and spring forward with their horse - mauling one dragoon unit and destroying another that was foolishly sent to help. The conflict in the centre continues, but is really now of little consequence to the game.


The last dragoon is destroyed and the enemy horse is crossing the river in force on the right.


The Gallispan cavalry have reached the pontoon bridge after my roll to bring on reinforcements failed.

Bassignana is assaulted.  The King and what's left of his infantry are ejected.

After one last desperate attempt to recapture Bassignana ending in abject failure and with other commanders either dead or their brigades broken, further resistance is futile.  So, the field is conceded to the gallant Franco-Spanish army.

Final Words
I really enjoyed the game and the challenge.  So, credit to Jonathan for his planning.

Any plan I had quickly unravelled in the face of two commanders who handled their troops extremely well while I made a number of mistakes. Kudos to Lee and Steve.

I would certainly play this game again... but differently!


Saturday, May 11, 2024

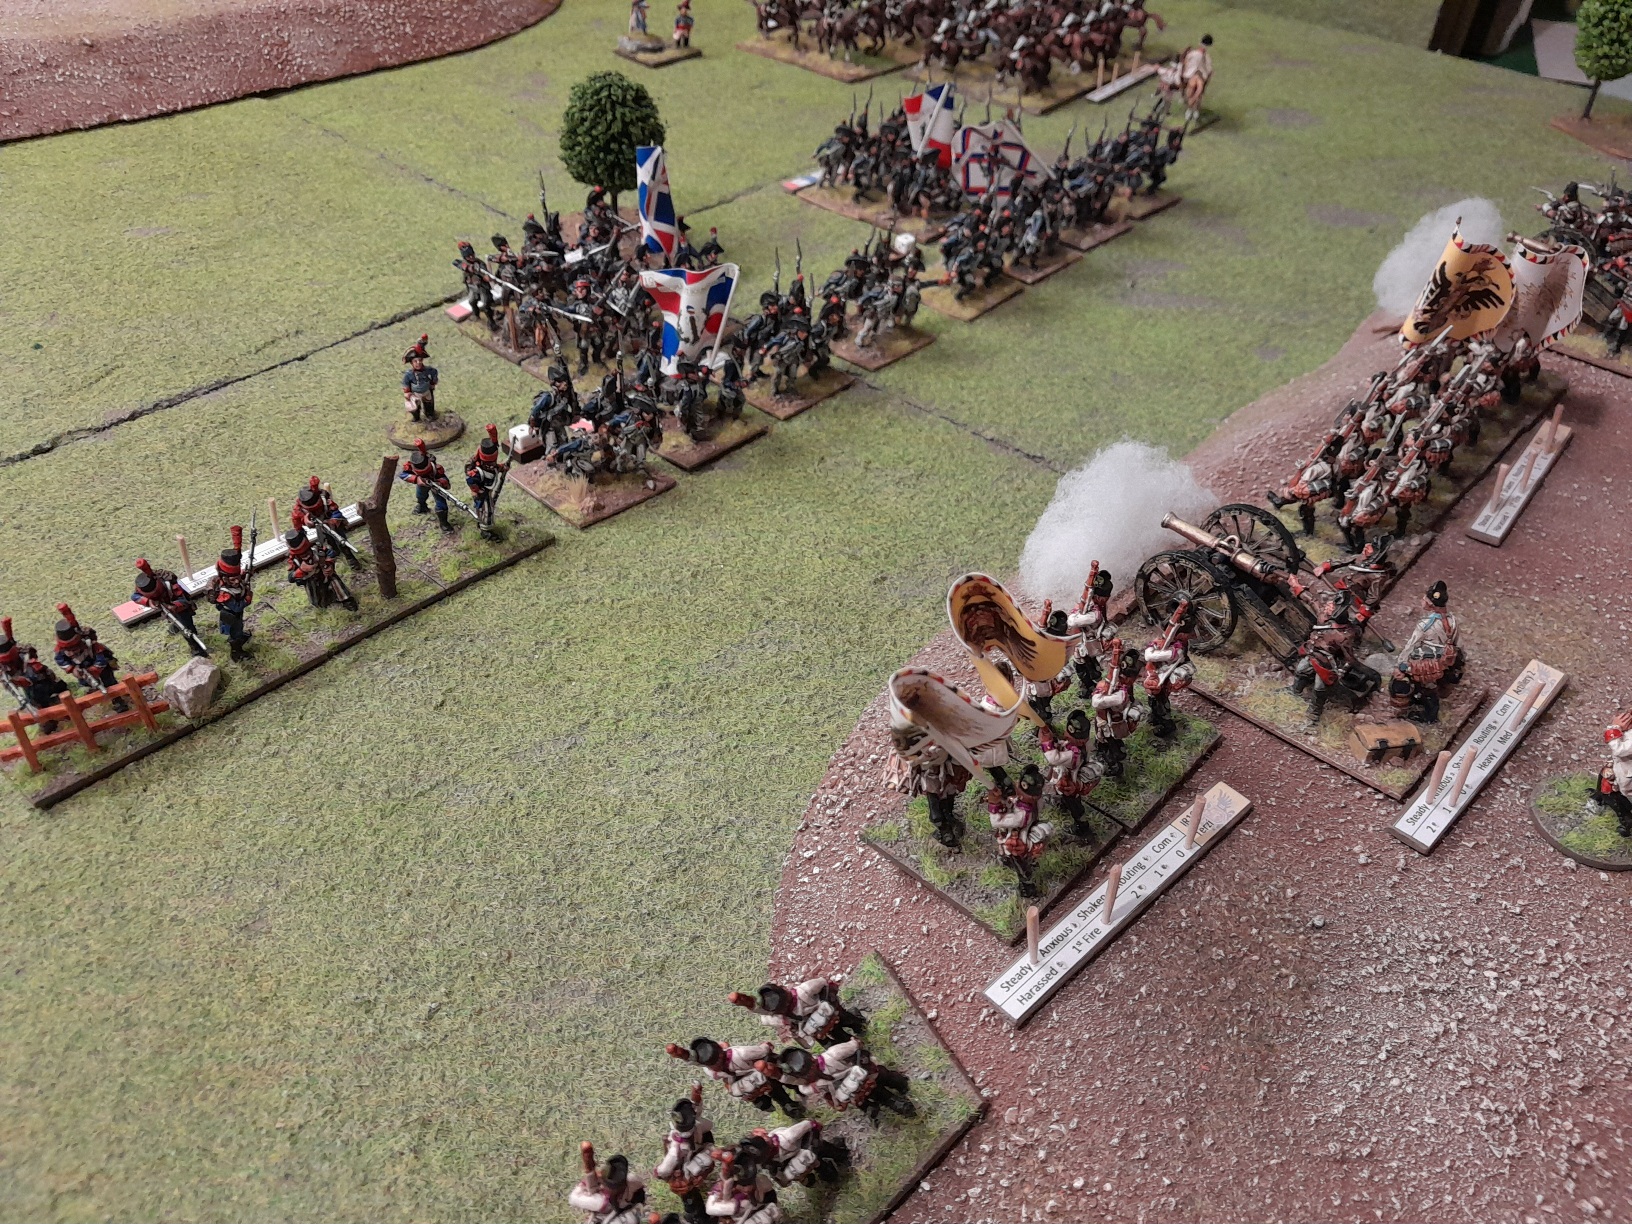
Solo Game AAR - French Revolutionary Clash.

I fancied getting the 28mm French Revolutionary War (FRW) boys out.  So, I thought that I would go for a quick game using One War Wargames (OHW) scenario 1.... , but using my FRW rules.

The Forces
The French: 4 units of line infantry, 1 skirmish light infantry and 1 unit of dragoons.

The Austrians: 3 units of line infantry, 2 artillery (one light, one medium) and 1 unit of dragoons.

Deployment
The Austrian forces, closest to the camera, appear to be deployed initially for a defensive posture. Perhaps hoping to make good use of their artillery advantage.

The French look set to advance quickly and engage.

The Battle
The French quickly advance having decided to lead with infantry in open order.  However, the Austrians clearly decided to take advantage of their artillery and set up a defensive position on the hill. Throwing only their dragoons forward to occupy the French cavalry.


At the earliest opportunity, the Austrian horse charge their counterparts. However, the French dragoons have enough time to counter-charge.


Meanwhile, the French infantry continue their advance into a storm of shot.


The horsemen engage in a ferocious struggle with little quarter being given.  Without any immediate result, neither side is yet willing to yield.


Desultory shooting from both sides, especially the Austrian gunners.


The French are now made to realise the error of their incautious advance when the Austrian line charge off the hill to catch their opponents in open order.


The light infantry on the French left are quickly overwhelmed and retire badly shaken.


Likewise, the formed Austrian line overrun the more vulnerable French who fallback shaken but not broken. Leaving the second line open to an Austrian breakthrough charge.


Amidst the disaster unfolding on the French centre and right, the French dragoons give the Austrian horse a lesson in how to use a sabre.


The situation after the initial melees have been resolved.

Desperate to restore some order and discipline to their shaken infantry, the French commander attempts to start recovering morale. However, he only succeeds in causing a much needed regiment to retire further.


However, the formed Gallic regiments hold their own...


... and throw the Austrians back in disarray and badly mauled.

Austrians forced to retire back to the hill in some disorder.


With the rest of the line now back on the hill, the Austrian left had no option but to fallback to the hill as well.

The now exposed Austrian regiment on the left about to withdraw to safety on the hill.

The situation after the second set of melees.

In a bid to regain the initiative, the Austrian commander attempted to rally the dragoons...


... and failed!

With them running off, this caused the Grenzers to be carried off the field of battle as well.

The Grenzers pondering their situation just before they take flight.

The French were also struggling to bring some of their units back into line. Another retreat away from enemy.


... and a forced retirement when the Austrian gunners opened up again.


Nonetheless, the Austrian right flank was now starting to look exposed.


... especially with the French dragoons able to advance towards it unopposed.


With over a third of their forces scattered or destroyed, the Austrians faced an army morale check... and marginally failed, forcing a withdrawal in good order.

A French victory.  This certainly did not seem likely earlier in the battle.

French line advancing to occupy the now vacated hill.

I thought the Austrians had victory in their grasp.  If only their gunnery was more accurate and deadly!  Perhaps they should have stayed on the hill to receive the French with terrain advantage.  However, I'm sure that the Austrians would have been facing columns not open order troops.

It was good to get these models out.  I feel that I may work through more OHW scenarios to see how they work as games using my own FRW rules.


Most Popular Posts